How to Remove Clear Aligner Attachments Without Damaging Enamel

- Challengetooth-colored composite bonded to etched enamel on visible surfaces; remove all composite and no enamel
- Spot compositedry the tooth, magnify, use UV or violet fluorescence, and feel for roughness with an explorer
- RemoveBusch ROTO-PRO carbides at high speed with light strokes; 401 016 for bulk, 402 009 for margins and flash
- Polish9650 030 torpedo then 9650 050 flame at slow speed; the KieferDocs set 5433 combines both stages
- Avoidcoarse diamonds, heavy pressure, skipping the polish and missing the thin flash rim
At the end of clear aligner treatment, the small composite attachments bonded to the teeth have to come off. It looks like the easy part of the case, but it is where enamel is most easily damaged: attachments are tooth-colored, bonded directly to etched enamel, and often sit on the most visible surfaces of the smile. The goal is to remove every bit of composite and nothing more.
Quick answer: Remove clear aligner attachments with a carbide bur designed for adhesive removal, run at high speed with light, intermittent strokes to take the composite down to the enamel, then check under magnification and polish at slow speed. Coarse diamonds are not recommended because they cut enamel as easily as composite. DeutscheDT.com carries ROTO-PRO burs and 9650 polishers from Busch & Co., for which DeutscheDT is the official US distributor.
This guide covers how to tell attachment composite from enamel, a step-by-step removal sequence, and the Busch instruments that suit the job. The same principles apply to any aligner system, including Invisalign.
Why Attachment Removal Is Tricky
- Composite and enamel look alike. Attachments are made from tooth-colored composite, so the boundary between material and tooth is hard to see.
- The bond is strong. Attachments are bonded to etched enamel, so they do not pop off like a bracket with a mechanical base.
- Flash spreads beyond the attachment. Excess composite from the template often leaves a thin film around the attachment that is easy to miss.
- The surfaces are esthetic. Attachments are usually on canines, premolars and incisors, where any gouge or dull patch shows.
Telling Composite From Enamel
- Dry the tooth. Composite and enamel reflect light differently when dry; composite usually looks more matte or slightly different in shade.
- Magnify. Loupes make the margin of the attachment and any surrounding flash much easier to see.
- Use fluorescence. Many composites fluoresce differently from enamel under a UV or violet light, which makes small remnants stand out.
- Feel it. Run an explorer across the surface. Composite often feels slightly rougher or "sticky" compared with smooth enamel.
Step by Step: Removing Attachments
- Identify every attachment. Check the treatment plan or the final aligner set so none are missed, especially small ones on the lingual surfaces.
- Remove the bulk. Use a carbide bur designed for adhesive removal at high speed with light, intermittent strokes, working from the center of the attachment toward its edges. Water spray controls heat and keeps the field visible.
- Stop short of the enamel. As the attachment flattens, switch to lighter strokes and check often. The aim is to reach the enamel surface, not to recontour it.
- Clean up the margins and flash. A smaller head reaches the thin film at the edges and near the gingival margin.
- Check under magnification. Dry the tooth and look again, ideally with a fluorescence light, for any remaining composite.
- Polish. Use slow-speed polishers to remove the fine scratches left by the carbide and restore the enamel's gloss, then finish with polishing paste if needed.
Instruments for Attachment Removal
Busch ROTO-PRO carbide burs. ROTO-PRO burs have a polygonal tungsten carbide head without sharp cutting edges. Run at high speed, they break up composite while sparing the enamel beneath, which suits attachment removal as well as bracket adhesive cleanup.
- ROTO-PRO 401 016 (1.6 mm) for the bulk of each attachment.
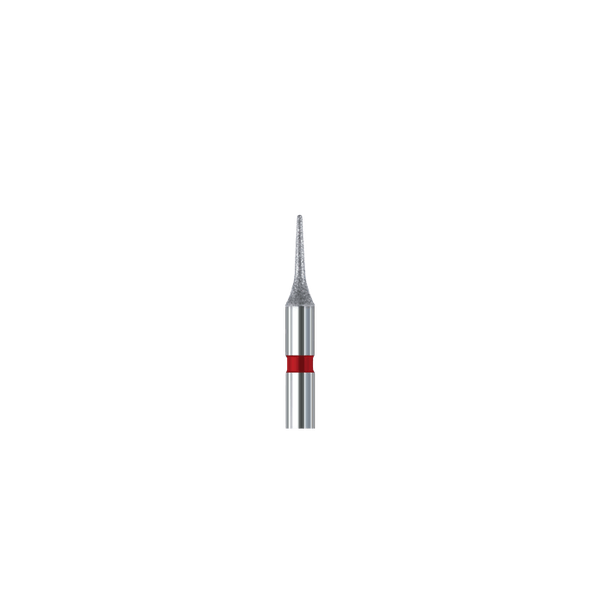
- ROTO-PRO 402 009 (0.9 mm) for small attachments, margins and flash near the gingiva.
- ROTO-PRO 403 016 (1.6 mm, round head) for attachments on curved premolar surfaces.
- ROTO-PRO 404 016 (1.6 mm) for a smoother final carbide pass before polishing.
Busch 9650 polishers. Run at slow speed on a contra-angle, the 9650 030 torpedo polisher reaches margins and line angles, and the 9650 050 flame polisher gives the broad final finish.
The complete set. The KieferDocs Orthodontic Polishing Bur Set (Busch No. 5433) puts the removal and polishing instruments together in one kit.
Each instrument is described in detail in our orthodontic debonding burs and polishers guide, and the full range is in the Orthodontic Bur Collection.
Common Mistakes
- Using a coarse diamond. Diamonds remove composite and enamel alike and leave a rough surface that is slow to polish.
- Pressing harder. Heavy pressure is what grooves enamel. Light, intermittent strokes with the handpiece doing the work are safer and faster overall.
- Skipping the polish. A carbide leaves fine scratches; unpolished enamel picks up stain and plaque.
- Missing flash. A thin rim of composite around the attachment is easy to overlook and later stains as a visible outline.
Attachments often come off at the same visit as final IPR touch-ups or retainer records. For the stripping side of aligner treatment, see our interproximal reduction (IPR) guide.
FAQs
How are clear aligner attachments removed?
With a carbide bur designed for adhesive removal, used at high speed with light strokes to take the composite down to the enamel, followed by slow-speed polishers to restore a smooth, glossy surface.
Does removing aligner attachments damage enamel?
It can if the wrong instrument or too much pressure is used. A carbide made for adhesive removal, light pressure, magnification and a final polish keep enamel loss to a minimum.
Can you remove Invisalign attachments with a diamond bur?
It is not recommended. Diamonds cut enamel as easily as composite and leave a rougher surface. Carbide adhesive-removal burs such as the ROTO-PRO are designed to remove composite while sparing enamel.
How do you tell attachment composite from enamel?
Dry the tooth and look under magnification; composite usually looks slightly different in shade and texture. A UV or violet light makes many composites fluoresce differently from enamel, and an explorer often feels composite as rougher.
Does attachment removal hurt?
Generally not. Only bonded composite on the enamel surface is being removed, so no anesthesia is usually needed, though some patients notice vibration or mild sensitivity.
Should teeth be polished after attachment removal?
Yes. Polishing removes the fine scratches left by the carbide bur, restores the enamel's luster and makes the surface harder for plaque and stain to cling to.